Monday, October 21, 2013

Fixing Chipped Wood Veneer

Hey friends. This is my first tutorial. I will be showing you the ghetto fabulous way of fixing chipped wood veneer. I love all things vintage and love thrifting unique pieces. Sometimes I come across less than perfect pieces. This sewing desk came with the vintage Singer 500A (review to come) that I purchased. The desk is sturdy and functional but there is a big chip in it.
 As I was at Home Depot today, I saw that they had free laminate flooring samples. I snagged a few that I thought matched the desk. 
I had the Man pry the laminate off the floor sample so that I was left with just a thin piece. He said it was hard to do. I think I should have told him to iron it first so that the heat would loosen the glue (oops!).


Those are his man hands double checking that what he cut fit . (Hey, real men can rock their daughter's princess bandages because their "31" wife (*said with sarcasm) cannot find the adult ones.)


He also pried off some of the wood on the desk so that the laminate piece would fit on there since it was a little thick. Then I used E6000 (the best glue ever) to glue what the hubby cut down for me.
I attempted to have a clamp hold this down for me but the clamp was too thick. So I had to hold it in place for a bit until the glue dried. (Yes, I need a manicure.)
There you have it. Not as big an eye sore as before.  Now if I can just find nicer pulls. I hate the brass.
Until next time friends,
Nicole

Wednesday, October 16, 2013

A Purple New York Themed Wedding

Hi Friends. Today I wanted to showcase a wedding that I did the planning and day of coordinating for. The bride and groom are from New York but their wedding was going to be in California. Since they met and fell in love in the East Coast, we incorporated a New York theme.

Here is the invitation. We incorporated the New York buildings and the couples custom made monogram. The monogram is inspired by the I love NY t-shirts. Our wonderful graphic designer is Arlene from Madjaz & Love Creative (http://madjazlove.com/gallery.html)
The ceremony was an beautiful outdoor ceremony. We used made sure that we could reuse the flowers from the ceremony at the reception.
 Rose petals were scattered on the walk way to match the couple's monogram.

Here is the reception. We had custom lighting made to project on a dark wall. The graphic design used in the invitation was used for the light as well.

We stuck with square shaped vases to keep consistent with our theme because they have the silhouette of New York sky scrappers.


 I wish I could tell you the person who did the flower arrangements but she might kill me. Maybe after this post she will decide to do weddings. ;)


Custom favor tags made by me were created with the logo along with the date of the wedding. We used packaged purple macaroons from a local bakery.

The cake topper was custom made by eBay seller cakebling. It is wooden but custom to match the couple's monogram.


Photography by : Gresham Visuals (http://www.greshamvisuals.com/)

Until next time friends.
Nicole


Monday, October 14, 2013

Guest Post: Chrystal Hunter : A Day in the Hunter Circus: A Picture an Hour

Hey friends, I leave you again with the capable hands of a guest blogger, Chrystal.  Today, you get to see the life of a boy mom. She was blessed with two adorable little boys. What is a typical day like for you and your kids? And do any of you run into the same issue of the kids not napping at the same time? Well, enjoy what Chrystal has posted. Until next time friends.

Nicole


Hello, my name is Chrystal. I am the momma of two wild man cubs. I was thrilled to hear that Nicole started writing a blog and jumped at the chance to be a part of it this week.
Because I am constantly chasing after my two year old, swaying a fussy babe, and doing another hundred things a minute with my boys, I decided to embrace that chaos and show you a glimpse into our life. Going out with the boys takes constant vigilance and patience that I don't always have, but we are not the stay-at-home all day sort. We gladly walk into the face of potentially crazy situations in order to maintain our sanity. That being said, I've put together a photo collage that highlights something we did every hour for one day. I hope you enjoy a peek into the crazy circus we call family. Thank you Nicole for giving me the opportunity to share.


A Day in the Hunter Circus: A Picture an Hour
7am
Praying for a good day before breakfast. Lord knows we often need Divine intervention!


8am
 Decorating Jackson's pumpkin for preschool.


9am
Getting ready
 10am
My jogging companions all bundled up.
 11am
Hanging out in Central Park
 12pm
Lunch date at Chipotle with our ring leader
1pm
 This was supposed to be a picture of a peaceful, sleeping baby.
2pm
Quiet time before big brother wakes up.
3pm
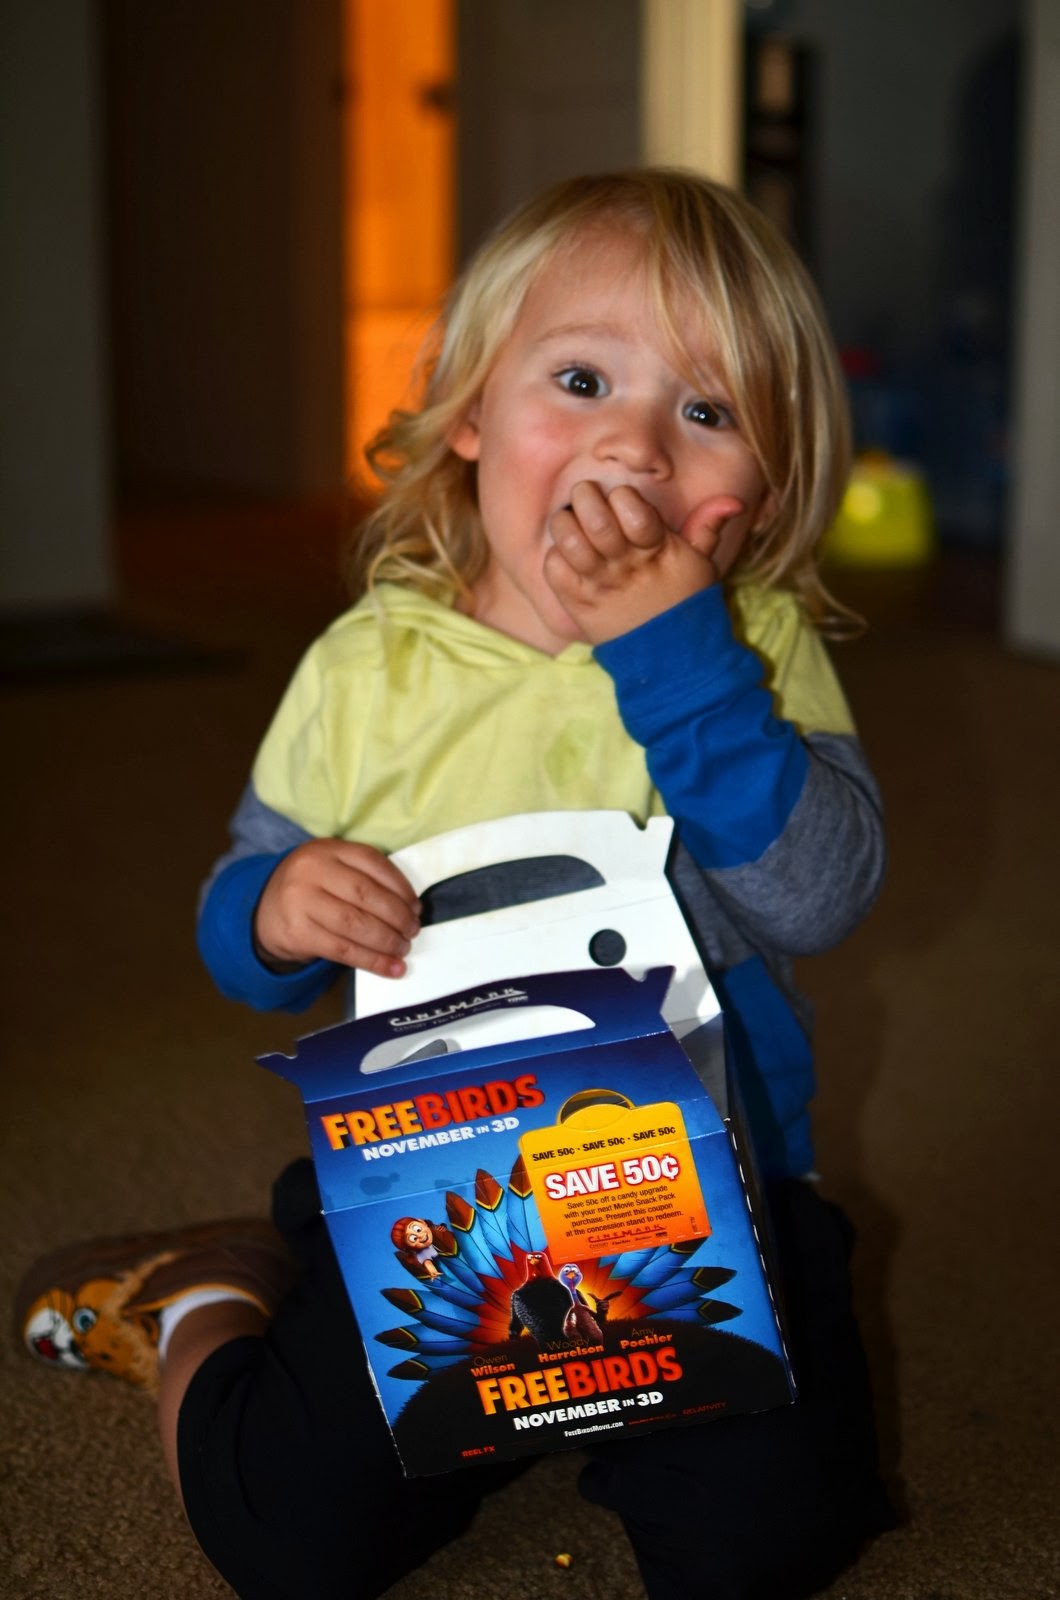
The boy loves him some milk.
 4pm
So close to crawling.
5pm
Finishing off the last of his popcorn from the movies with grandma and papa.
 6pm
Getting ready for date night.
7pm
Token picture of fancy coffee from a hipster coffee shop.
 8pm
Bath time
9pm
Ending the day with a good book.

Wednesday, October 9, 2013

Guest Blogger: Michelle of Sweet, Heart & Soul

Hi All. Well as you know, I am still in the middle of packing up the house so I have scheduled some guest bloggers. Today, I have the pleasure of introducing all of you to Michelle of "Sweet, Heart, & Soul". I have been to two events that she has created for and let me tell you, it is nothing short of spectacular. Just read on to see what she is all about. She is also showcasing her latest event, a vintage tea party. Thank you Michelle for taking time to share your work with us. Until next time friends.
Nicole


To walk into a party and be amazed by all the details is just wonderful.  However, to leave the party at the end of the night feeling absolutely blown away by every single element is…  UTTERLY AMAZING!  That exact feeling is what triggered my desire to start a business that would allow individuals to not only amaze their guests with the presentation of their party décor, but to also experience the same contentment upon seeing what I could offer.  At that moment, “Sweet, Heart & Soul” was born – a company in which I could provide individuals many options to make their social events stand out through beauty & originality.  I have always had a passion for creating everything – art, crafts, and desserts… anything I could get my hands on.  Therefore, it was only fitting to develop a company that would allow me to do what I love doing most.  “Sweet, Heart & Soul” was developed with the intention of putting my heart & soul into making sweet memories for anyone who would allow me to.  With the assistance of my supportive husband, my kids, my family & close friends, I have been able to continuously work a number of great events since March of this year.

Although I offer many various products to provide for an event, I mostly specialize in creating dessert tables, party favors, and décor.  My absolute favorite is being able to create fabulous dessert tables for my wonderful clients!  Upon booking, clients tell me what their theme & color scheme is.  From there, I begin to map out what their dessert table will look like, and start the process of purchasing all the essential supplies needed in order to make the table look stunning.  Words cannot explain how much I LOVE planning out my tables.  Who wouldn’t love being able to purchase beautiful props & décor to help make the table look exquisite? Working on dessert tables is not only fun, but it also allows me to utilize my creativity by showcasing my style, and furthermore create delicious desserts for others to enjoy.  

A couple weeks ago, I had the opportunity of working on a dessert table for a bridal shower.  The theme was a “Vintage Tea Party” which incorporated the colors White, Yellow, and soft beige tones.  This request brought me so much happiness, as I find it to be so much fun to rummage through items in search for beautiful vintage décor.  They say a picture says a thousand words, so rather than describing what I did… here are the visuals:


 So there you have it – my life in a nutshell.  I’m loving life because I have 2 beautiful kids who motivate me to work hard, a wonderful husband who pushes me to pursue my dreams, a great family & true friends who support everything I do… and a great business that allows me to utilize my creative skills and artistic ability to showcase what I love doing most!  Our official website is still under construction, but to see more of our work, feel free to follow us on Instagram (@sweetheart_and_soul) & “like” our FaceBook Page by searching “Sweet, Heart & Soul”.  For all inquiries, feel free to contact us via email:  sweetheartandsoul@gmail.com – thank you!

Monday, October 7, 2013

Planning your next move

So, when I used to work, I was an Auditor. As an auditor, one of the first steps you take before you even audit is planning the engagement. The better you planned the engagement, the smoother it went. Moving can be looked at as a project. Since I am the house wife, I am the "Moving Manager". In sticking to my core competencies, I decided to "plan" my move.

The first thing I did was purge, purge, purge, and purge some more. It took me about 2 weeks to really do a good one.

Then I created a master box spread sheet. I thought of the areas of my home and identified 9 areas. I assigned each area a color and a reference number. I used a three digit reference series in case certain areas reached more than ten boxes. In this example, my kitchen is assigned the orange color and the 200 series. Then, the first box is box 201. My spreadsheet also has the contents of the box. This will make finding my junk  belongings easier. The last time we moved, it took forever to find things, this time around I want to be able to find what I need.

It took me a bit of playing around but pure genius struck me one day. I was deciding how to make labels for my moving boxes and at first I was printing full page sheets with the name of the area and box number. Then I remember that I am a fan of free printables.

I remember using http://www.ontobaby.com/free-printables/chevron-zig-zag-stripe-baby-shower-free-printable/ several times for, get this, CHEVRON print labels. You can customize colors and once printed it has room to write box numbers. Below is an example of the Office labels I created:

How perfect is that? And it goes with my whole notion of not reinventing the wheel. Once you cut these out, there is room on the label to write a box reference number. Now you will have cute moving labels that are color coordinated for a super organized move.

Until next time friends,
Nicole

Wednesday, October 2, 2013

The Doc is in

The Doc is in and she'll fix you up... all you Moms who watch Disney Junior know how much the kids love Doc Mc Stuffins.

As you know by now, I am totally against reinventing the wheel. So, I just put some store bought clothes to come up with her Doc Mc Stuffins outfit. I bought the doctor kit and the lab coat is actually boys button down oxford shirt (2 sizes too big). There you have it, a Doc McStuffins costume for about the same price you can get those itchy polyester ones from and no sewing.

For those of you not cool like us preschool moms, here is a picture of the "Doc".

Until next time my friends,
Nicole